
After a bit more content in the previous post, it’s a shorter one today but also the first bit of Excel work. Really simple first step: making tables.
So theres one last step to take before we can leave the Basic Information file, both sets of data should be in a “Table” format. This is a really quick and simple step to take if you haven’t done so before.open the sheet you wish to change to table format
- Click on any cell with data in it
- Click on the insert tab at the top of the page
- Click insert table
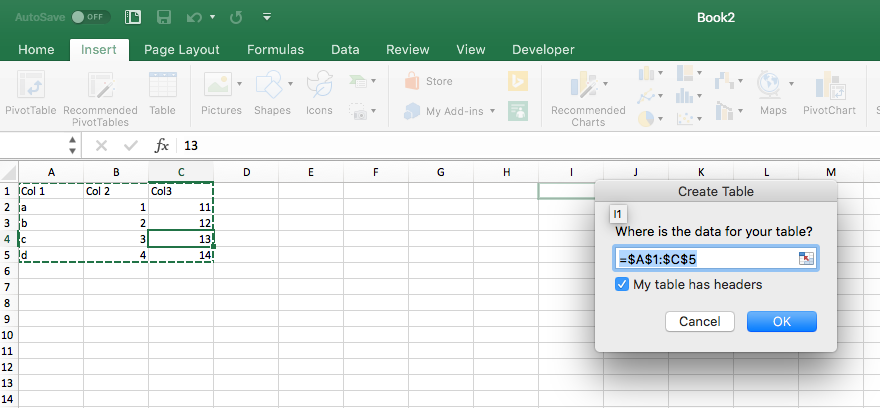
- All the data should be automatically selected, ensure box for “My table has headers” is ticked, click OK
- Table made
- Repeat for the other sheet
*****Instead of step 3 above, press ctrl+t (Windows) or CMD+t (Mac)********


Now can can quickly filter the data in the tables: if you only want max velocities for one position, use a position filter; if you only want Away, European Cup games, use the venue and competition filters etc.
Next up, how to to make sure you can access both PowerQuery and PowerPivot on your version of Excel.
PS – It’s worth checking if the option to automatically extend tables is ticked or not in your Excel. If you’re adding data regularly, having it checked is best. Prevents you having to alter table dimensions regularly. Plus it helps with auto-populating cells as new data is added.
